Search

Saturday, November 23, 2013

Pumpkin Pie Granola


It's now that day after Thanksgiving and the last thing you want to do is cook a full meal for your out of town guests. But guess what? You don't have to! Not only will nobody have room left in their stomachs for a big breakfast, but they're not going to expect you to put on a whole other production (they shoulnd't at least). But, if you REALLY want to surprise them, make a pumpkin pie granola! It is SO easy and you'll definitely have some left over pumpkin from the pies you were planning on making but gave up on (its ok, it happens to the best of us). I found the original recipe from Dashing Dish and it was a total hit with the kids at school (9 times out of 10 they're my guinea pigs).

What you'll need:
4 cups
Old fashioned rolled oats
2 tsp
Ground cinnamon
2 tsp
Pumpkin pie spice
1/2 cup
stevia or other sugar replacement
1/2 tsp
Salt kosher
1 tsp
Baking powder
3/4 cups
Pumpkin
1/2 cup
Applesauce (unsweetened)
3 tbs
agave nectar
1/2 cup
white chocolate chips


1. Preheat your oven to 325*. Line 2 baking sheets with parchment paper and spray with non-stick cooking spray.
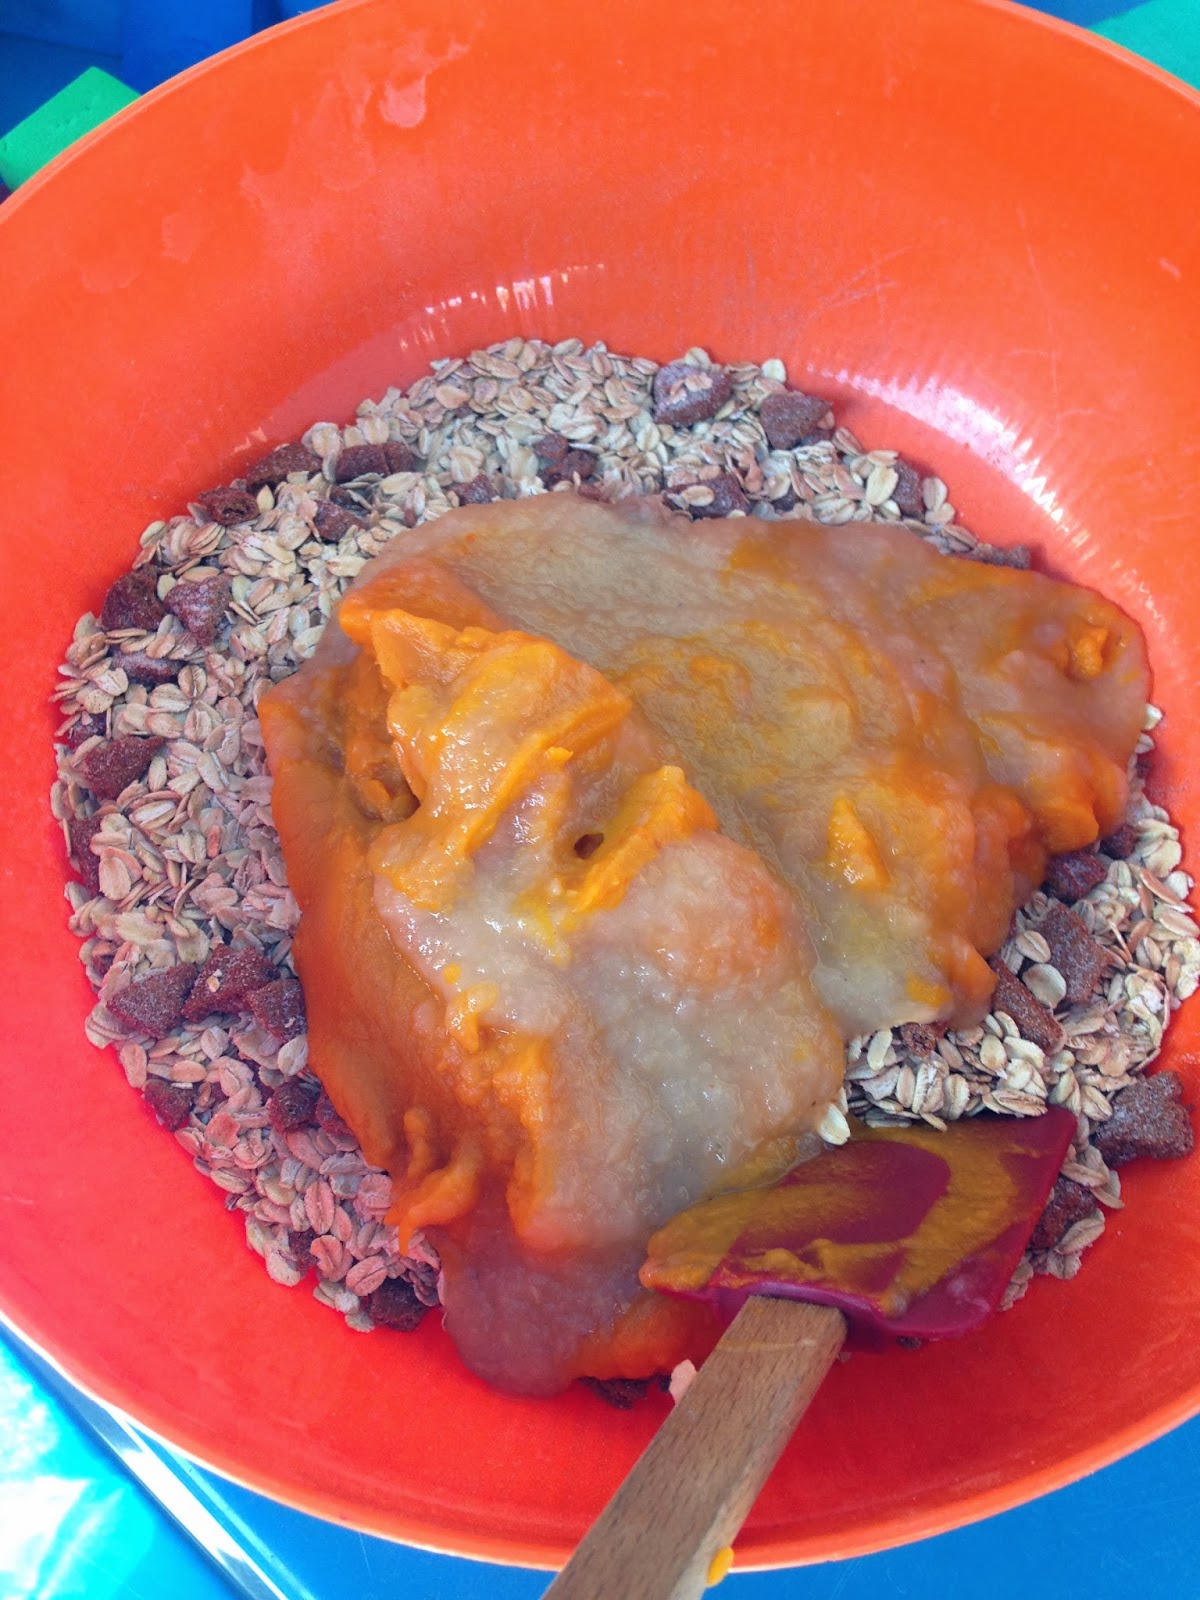
2. Mix together the dry ingredients in one bowl and the wet ingredients in another (NOT the chocolate chips). Mix together and spread in a single layer on the sheets.
3. Bake for 20 minutes, stir around, then back for another 20 minutes. Take out and let cool (it may feel a little mushy but as it cools, it'll harden).
4. Break up and once cooled, mix with the white chocolate chips!

enjoy :)

Sunday, November 17, 2013

Cranberry Apple Sauce

Ok, everyone time to get real! Whether or not you want to admit it Thanksgiving is only 11 days away! EEK!!! I feel like every year I try to prepare and create lists ahead of time but end up doing everything the day of. This year, I want to try and de-stressify my day by actually getting a head start. I plopped some cranberries and apples in the slow cooker for about 8 hours yesterday and what came out of it this morning was pure magic. It required barely any effort (great) and made the house smell like the holidays (even better). By mixing together the cranberries with apples it gives the sauce a nice twist. Yes I know some people enjoy the jelly that slides out of the can (my sister) and others like the homemade stuff (the rest of the world) so I wanted to jazz it up a bit.

Now, if you want to do this in a pot on the stove because you're impatient like the most of the of, then follow these steps: Add all ingredients MINUS the apples to a small pot. Bring to a boil and reduce heat to low and cook for 20 minutes. Add the apples, cover, and cook for another 20 minutes.

I don't know about you, but I can't wait for Thanksgiving, it's absolutely my FAVORITE holiday!!! That's one thing crossed off my list (I'll actually be able to watch the parade this year!), and it's now in the freezer getting ready for the big day!

What you'll need:
1 12 oz. bags fresh cranberries
8 gala apples (if they're big, maybe 6)
2 tbs. cinnamon
1 tsp. kosher salt
1/4 cup sugar
1 tbs. lemon juice
Zest of two oranges
1/4 cup orange juice (about 1 orange)

1. Rinse your cranberries in cold water, dry, and plop into your slow cooker. Peel, core, quarter, and slice your apples into big chunks and add to the slow cooker.
2. In a small bowl, mix together the cinnamon, sugar, lemon juice, orange juice, and orange zest. Pour it over the apples and cranberries, sprinkle with salt, and let it cook for 8 hours.
3. Stir every 2 hours to break up the apples (after the 6th hour, the apples will start breaking down). Turn off after 8 hours and let it sit for another hour or so to thicken up. Let cool and serve or pack up and freeze!

enjoy :)

Monday, November 11, 2013

Pumpkin Spice Challah


There is this undeniable falvor and texture that you can only find in challah bread. Sure chcolate chip challah, raisin challah, plain challah are all delicious but how many times can you have a roasted chicken on a Friday night? With the fall holidays upon us, I wanted to take on a new twist to the usual challah bread we eat every Friday. This time, I had to dive into pumpkin challah (I'm a little obsessed with everything pumpkin these days), and I am here to tell you that the kids at school LOVED it (remember, we cook every Thursday with them). I did try to make this a few weeks ago with whole wheat flour and let me tell you this: IT DID NOT WORK!!!!! So please, don't do it! Anyways, I think I may use this challah recipe to make the challah for stuffing for Thanksgiving. Don't worry, I'll give it a test drive and let you know how it turns out! Oh, by the way, this recipe is a step-by-step way to make challah by hand. If you want to use a stand mixer you certainly may. Everywhere I say to do something "by hand," change it to "using a dough hook."Now, this is quite time consuming, so I suggest you do it the night before you wish to serve or the night of ONLY if you have about 3-4 hours to bake.

What you'll need (will make TWO loafs or about 30 cupcakes):
2 packages active dry yeast
1 cup water
3 tbsp granulated sugar
1 whole egg
6 egg yolks
1/4 cup honey (do NOT use agave, not the right sweetness)
2 tbs. canola oil
2 tsp. kosher salt
3 tbs. Pumpkin Pie Spice
1/2 cup brown sugar, packed
2 cups pumpkin puree (this is equal to one whole can)
7-9 cups all-purpose baking flour


2. Preheat your oven to 350*. In a large bowl, add the yeast, 1/2 cup water, and 1 tbs. of the sugar and mix by hand. Let the mixture sit for about 10 minutes to dissolve and become foamy (the foam should be quite thick. If this does not happen, then your yeast has probably gone bad!).
2. Once your yeast has activated (gets foamy), then add the the rest of the granulated sugar, egg, egg yolks, honey, canola oil, salt and spices. Use a whisk to throughly combine the ingredients.
3. Mix in the brown sugar and the pumpkin puree until the mixture is nice and smooth. Ok here comes the messy part: start adding in the flour, 1 cup at a time, using a whisk (or your hands) to form a dough. Keep adding until the dough is smooth and not sticky anymore. Knead for about 7-8 minutes.
4. Pour a few tbs. of canola oil into a large bowl and smear it all over. Plop your dough in the bowl, rubbing the oil all over the dough. Cover your dough with a CLEAN kitchen towel and place on your stove on TOP of your oven. ***(if your oven is not connected to your stove then preheat your oven to 200*, turn off, and let your dough rise in the oven while it is OFF)*** Let rise for 1 hour.

5. Take the dough out, punch it down a few times, then divide into cupcakes and cover to rise for another hour OR, if you're making a braided challah, put back in the bowl, cover, and let rise for another hour. 
6. If you're going to braid your challah, now is the time to do it on a baking sheet lined with parchment paper (learn how to braid your challah here). Divide the dough in half, and braid both halves into two challah loafs. 
7. Now, use 1 tbs. water and 1 egg yolk, whisked together, to make an egg wash. Brush the top of your cupcakes or braided challah, and let rise for 30 minutes more (this is it, I promise!). You'll know it's ready when you poke the dough and the indentation stays rather than springing back.

8. Bake in a 350* oven for 20 minutes, turn the pan (the back of the oven is the hottest so you want to make sure both ends of the pan bake evenly) and bake for another 20 minutes.
9. Let cool and chow down!!!

Tuesday, November 5, 2013

Tips in the Kitchen- DIY Silver Jewelry Cleaning

I've never really been one of those people who is in to "DIY" (Do It Yourself) projects, usually because I fail epically every time. But I've been pretty sick of looking at my cloudy and tarnished silver (I have no idea yet how to clean gold) jewelry in the mirror so I looked for an easy way to do it at home that uses very little (if any) chemicals. I found a few variations of the same recipe and they all seemed pretty easy. They called for a very few select items that everyone will most definitely have in their home. So I experimented, and... voila! My jewelry is looking like it's BRAND SPANKING NEW!!! All it calls for is near boiling water, baking soda, and kosher salt. THAT'S IT and your jewelry will be sparking like the day you got it :)

What you'll need:
1 tbs. kosher salt
1 tbs. baking soda
2 cups near boiling water
1 baking dish
Aluminum foil.

1. Line your baking dish with a single layer of foil. Pour baking soda and salt in the middle.

  
2. Drop in your jewelry and pour the water over it. Watch it sizzle and wait 5 minutes.
3. Rinse in cold water, pat dry, and you're good to go!


Saturday, November 2, 2013

Balsamic Steak Rolls

I came across this amazing recipe on, of course, Pinterest and I've been dying to make it for weeks. I have been on my very strict diet and most of the recipes I find on Pinterest are outside of the jurisdictions of my regime. But I was pleasantly surprised to find that this fit right in! I used flank steak, which doesn't have too much fat, and a ton of veggies to stuff inside. It's very cute and I think you just might be able to get your kids to eat it! If not, then there is more for you! Like I said, I lightened up the sauce and the veggies for my version but the original version looks just as great to me (but it has butter, brown sugar, and olive oil, all of which I am not eating). Either way, this will be a FABULOUS meal that looks complex but is SO easy! OH!!! Don't forget tooth picks!

What you'll need:
For the steak
2 lbs. flank steak
1 tsp. kosher salt
1/2 tsp. pepper
3 tbs. Worcestershire sauce
1 tbs. steak seasoning

For the veggies
1 carrot (I bought shredded and it worked perfectly)
1 zucchini
1 bell pepper (any color is fine)
6 green onions
1/2 red onion
1 tsp. herbs de Provence 

For the Sauce
Olive oil spray
2 tbs. finely minced shallots
1/2 cup balsamic vinegar
2 tbs. Stevia (or any zero calorie sweetener)

1. Prep your steak. Cut in to 8-10 slices, about 6 inches long. Salt and pepper both sides of the steak, then toss in a large zip lock bag with the Worcestershire sauce. Give it a good shake and let it sit in the fridge for an hour or so.
2. After an hour, take the meat out of the fridge so it can come to room temperature (it cooks more evenly when it is at room temperature). 
3. OK...Veggie time. Slice all of your veggies into match-stick sizes (I don't have a fancy machine to do it for me so I just went for it by hand), including the green onions. 
4. In a medium pan heated to medium heat, spray cooking spray and sauté the shallots. Add the balsamic, Stevia, and beef broth. Let simmer for about 10 minutes, then turn off heat to let it thicken (Don't worry, IT WILL!!!).
5. While the sauce is cooking, quickly stir fry the veggies in some cooking spray and whole garlic cloves (this just infuses the flavor f the veggies with garlic, but does not overwhelm). You do NOT want to cook them too much (they'll continue to cook inside of the steak when they're on the grill), so no more than 3 minutes.
6. Heat your grill pan time! Now, place a few pieces of each veggie inside of the steak so they're sticking out on the sides. Roll up and secure with a few toothpicks. Sprinkle with steak seasoning all over and start grilling toothpick side down. 
7. Grill for about 3-5 minutes per side and serve immediately with balsamic glaze!
Daniel wanted yo to see how perfectly it looked inside
enjoy :)

Chocolate Chip Waffles

After a long week of work and school, some Sunday mornings just call for homemade waffles, no matter what. But to make them extra special, you just have to add some chocolate chips! You really have no excuse NOT to. They're really quite simple to make and if you've baked just about anything in the last 6 months, you should have all of the ingredients in your pantry. I made these a little bit on the healthy side, opting for vegan butter and non-dairy creamer and they were just as fluffy as you could ask them to be!

What you'll need:
1 1/4 cup all-purpose flour
1/4 tsp. baking soda
1/2 tsp. baking powder
1/2 tsp. salt
2 tbs. sugar
2 whole eggs, beaten
2 tbs. vegan butter, melted
1 cup milk (I usually use non-dairy creamer)
1/4 cup chocolate chips

1. Heat your waffle iron by following the instructions it provides. Mix all dry ingredients in a large bowl, and all wet ingredients in a big giant measuring up (makes it very easy to pour).
2. In a separate bowl, alternate between mixing the wet and dry ingredients until well incorporated. Finally, add in the chocolate chips and pour on your waffle maker.
3. Cook until golden on both sides and serve with some warm syrup!

enjoy :)