Search

Thursday, November 29, 2012

Herb Roasted Turkey

One of the most intimidating things to make at any holiday meal is the Turkey. I'll admit that I have been pretty scared in the past and backed out making the turkey because of my fear of ruining the entire meal. But last year, I went for it and made the turkey. It was pretty amazing! But, sadly, someone put foil over it when it was in the "resting" phase, and it dried out. This year, I started preparing the bird the night before. Eliot (my stepdad) brined the turkey overnight with some kosher salt and rosemary. If you don't know what brining is, Martha Stewart has a great brining lesson that is easy to follow. Now, given that we had 40 people (yes, you read that correctly) over for Thanksgiving, we had 3 turkeys: my roasted turkey, Eliot's smoked turkey, and my dad's deep fried turkey (WOW... AMAZING!!!) so I knew I had to knock mine out of the park. I have to say that this was the BEST turkey that I've ever had! 
Obviously I like the majority of the foods that I cook but this was FANTASTIC! The overnight brining made it super moist and the herbed butter that I smothered it with was just perfect. I used the same herbed butter as I did on my Mary's Chicken. Every 20 minutes I basted the turkey to maximize the crunchiness of the skin and moisture of the turkey meat. ***Please follow cooking instructions EXACTLY for a turkey. Nothing will make you sicker than an uncooked turkey*** I used salted butter because I didn't want to add any extra butter with the risk of drying the turkey out. Tons of fresh herbs and garlic made for a divine marinade. Now, of course you don't HAVE to use Mary's chicken (Mary is NOT a person, it's the BRAND) or turkey, they're just a really wonderful quality of poultry that I simply will not substitute on a holiday as important as Thanksgiving. Well, after my grandmother ate this turkey, she has decided that I shall be catering Christmas dinner, turkey included. For your next holiday meal, follow these steps to making a delicious, moist, crunchy-skinned turkey. NOBODY, and I mean NOBODY, will be disappointed! 

Here is a guide for how long to roast a turkey (EVERYONE'S OVEN COOKS DIFFERENTLY!!! USING A MEAT THERMOMETER WILL ENSURE THAT YOUR TURKEY REACHES 165 DEGREES F. AND COOKS TO PERFECTION!)

8 - 12 lbs.
UNSTUFFED
2 3/4 - 3 hours
STUFFED
3 - 3 1/2 hours
12 - 14 lbs.3 - 3 3/4 hours3 1/2 - 4 hours
14 - 18 lbs.3 3/4 - 4 1/4 hours4 - 4 1/4 hours
18 - 20 lbs.4 1/4 - 4 1/2 hours4 1/4 - 4 3/4 hours
20 - 24 lbs.4 1/2 - 5 hours4 3/4 - 5 1/4 hours
What you'll need (for a 12-14 lb. turkey):
brined turkey (adjust the ingredients below depending on the size of your turkey)
1 stick salted butter (at room temperature)
2 tbs. fresh rosemary
1 tbs. fresh thyme
1 1/2 tbs. fresh sage
6-8 whole garlic cloves
1 meat thermometer
1 orange
3 full sprigs of rosemary (separate from the above amount)
1 LARGE roasting pan

1. Preheat your oven to 325*. Remove the giblets from the turkey. In a food processor, add the herbs and garlic and chop until they're minced. 
2. Add the butter and process until it is all fully incorporated and forms a paste. 
3. Rub the inside of the turkey with the orange and let the orange stay inside while the turkey roasts. Loosen the skin of the turkey and place the full sprigs of rosemary under the skin. 
4. Cover the ENTIRE turkey with the butter. Place the meat thermometer into the side of the turkey, through the breast ALL the way in.
5. Place the turkey in a roasting pan (MAKE SURE IT FITS!!!). Start roasting!
***Baste the turkey every 20 minutes***
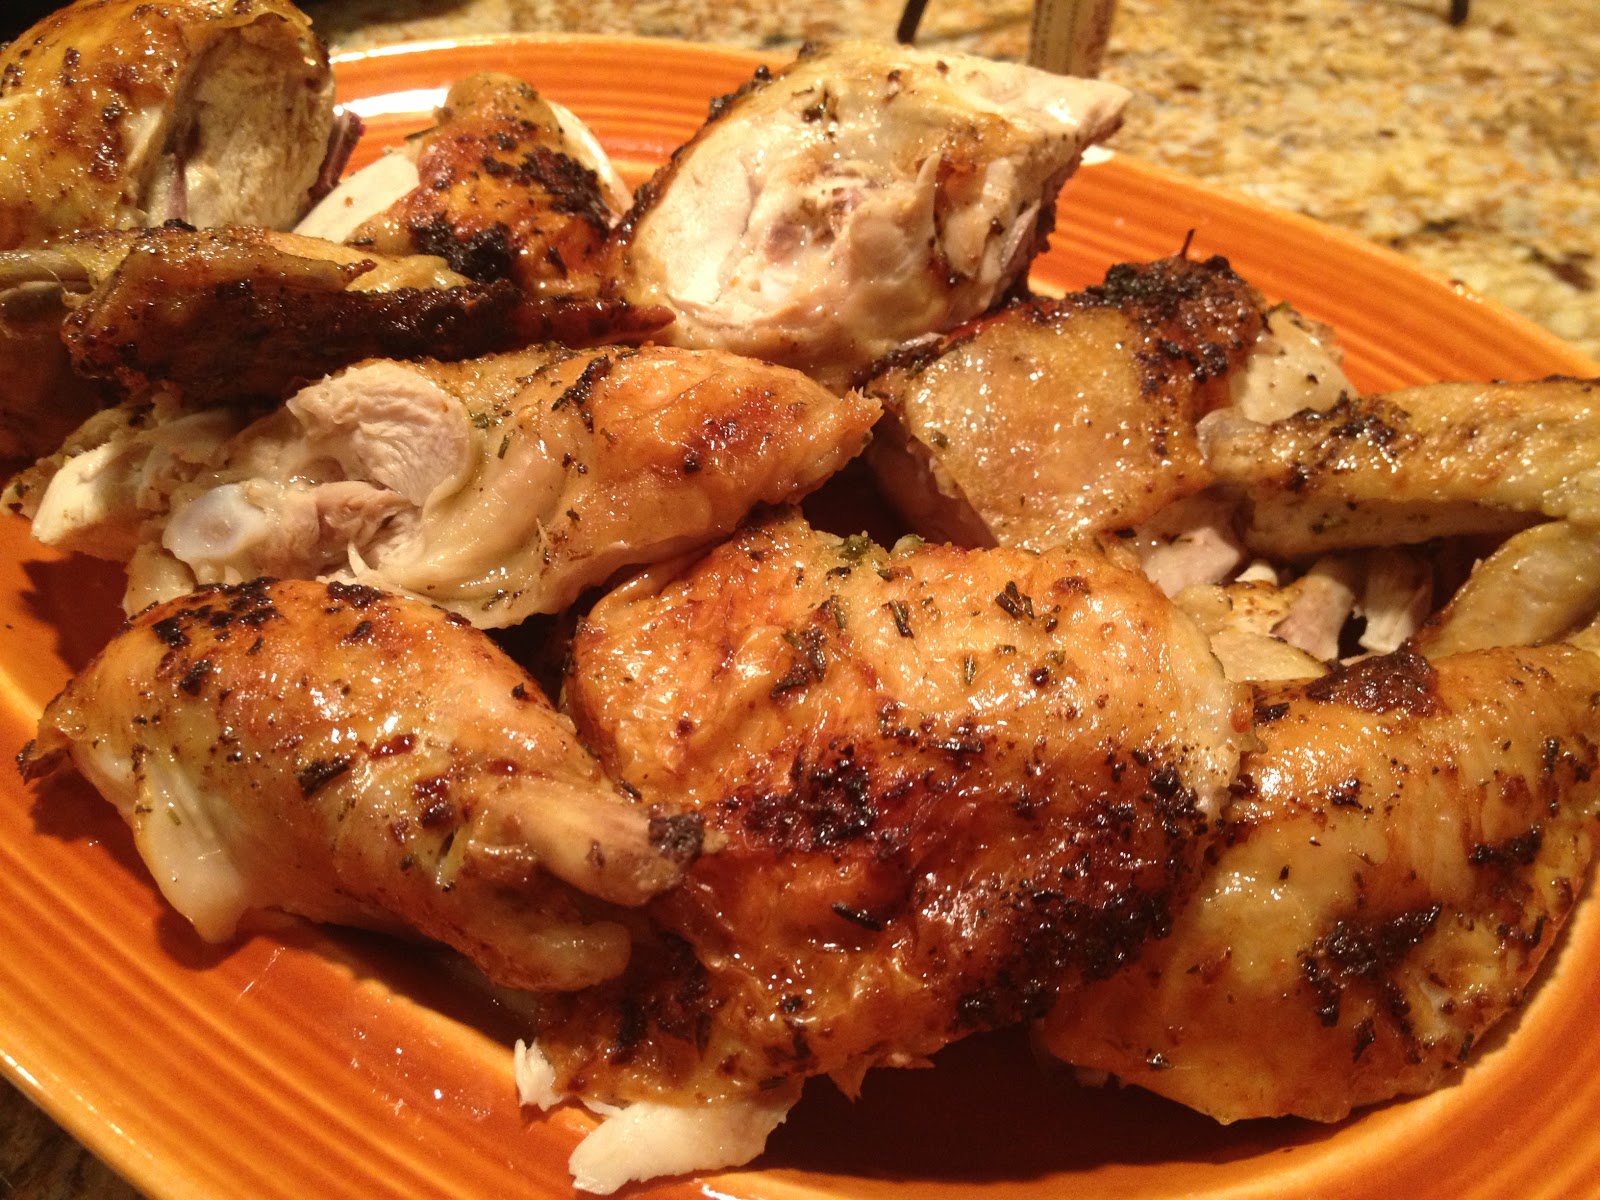
THE SKIN IS SO CRUNCHY!!!!! :)
6. Following the cooking guidelines and after the turkey reaches 165* internal temperature, remove from the pan and let the turkey rest for AT LEAST 30 minutes (let the juices redistribute).
7. Let someone who KNOWS how to slice a turkey do so. 
8. Serve on a large platter with your favorite holiday side dishes.

enjoy :)

Sunday, November 25, 2012

Balsamic Roasted Brussel Sprouts

I feel as though I'm a pretty good vegetable eater. There are some veggies that I LOVE and some that I hate. I have never been a fan of brussel sprouts because of how darn stinky they are. So a few weeks ago, I was eating dinner at Daniel's house and his mom made brussel sprouts. I politely declined my serving and just continued to eat my mushrooms and steak. About 5 minutes into the meal I had a breakdown and admitted LOUDLY that I had never actually tasted a brussel sprout. I guess you could say the guilt was eating away at my insides. So, to my dismay and fear, I tasted one. Needles to say I am now OBSESSED!!! For Thanksgiving this year my mom made these delicious brussel sprouts. The recipe is so simple that anyone (even the worst of cooks) can make them. Leave them WHOLE, toss them in olive oil, Kosher salt, pepper, and balsamic vinegar and roast until they're golden brown!  To make them even more special, she added some whole, raw almonds and whole garlic cloves. They are NOT stinky, and the balsamic vinegar caramelizes beautifully on them to create a divine and yummy side dish that even I, and Daniel (the PICKIEST eater in the world!!!), will eat!

What you'll need:
1 package organic brussel sprouts (about 3 cups)
1/4 cup balsamic vinegar
3 tbs. extra virgin olive oil
1 tsp. Kosher salt
1 tsp. Pepper
15-20 whole garlic cloves (Trader Joe's has them peeled and ready to go)
1/2 cup raw almonds

1. Preheat your oven to 375*.
2. In a large bowl, mix together all of the ingredients. Lay them out on a large baking sheet. Roast for about 25-30 minutes (at the MOST!!!) When they're golden brown then they're ready!
3. Serve IMMEDIATELY!

enjoy :)

Peanut Butter Banana Smoothie

I know I've told you all how awful I am at eating breakfast on Monday morning. It's the first morning after the weekend, I'd much rather be cuddling in bed watching Netflix, and I'm burnt out after a weekend of cooking for my friends and family. But my go-to meal for breakfast on those type of mornings is a smoothie. This smoothie is full of vitamins, flavor, and will fill you up for hours and give you enough energy to get through the dreaded Monday. If I haven't used my fresh fruit by day 3, then I chop them up and put them in the freezer for smoothies. I use frozen fruit instead of ice because as the fruit melts down, it never gets watery and its much healthier. This smoothie requires two frozen bananas, 1/2 cup fat free milk, and 2-3 tbs. creamy all-natural peanut butter. It's totally easy but you wouldn't believe how delicious it is. It taste like a milkshake, so if you have children that are picky eaters, try this and tell them it's a milkshake and I promise they'll be begging you to make it every morning! And, of course, I use a fun straw because fun straws make everything taste better. I've seen some recipes for this smoothie that add vanilla or chocolate but you don't need that, believe me, it's sweet enough as it is! This makes a great breakfast or lunch on the go, or even a filling and VERY healthy afternoon snack.

What you'll need:
2 frozen bananas (chopped)
1/2 cup fat free milk
3 tbs. all-natural creamy peanut butter

1. Place the bananas, milk, and peanut butter in a blender and blend until smooth and creamy. If the blender stops blending, you may need to add more milk (that's fine!).
2. Pour into a cup with a straw and drink immediately!

enjoy :)

Challah French Toast Bake

My friends I am SO sorry I haven't been blogging all week. But, as you can imagine, I've been up to my neck in AMAZING holiday recipes that I've been preparing for all of you! The first one I'm going to share with you is this super simple and yummy breakfast dish. The morning after Thanksgiving (or any Holiday for that matter) is a difficult one because everyone is pretty sick and tired of cooking and there are still a ton of house guests to prepare breakfast for. This baked French Toast is simply delicious and very, VERY easy to make! You can use this French Toast recipe for the wet mixture (with a few added ingredients) but instead of taking 45 minutes to make everyone's individual piece of toast, you layer the challah (or any other good quality soft bread) all on top of each other in a large baking dish, stick it in the oven for 25-30 minutes, and just relax with your friends and family. I used a raisin Challah to make it extra special, but you certainly don't have to; plain or chocolate chip will do just fine. To get the best consistency, try to use a really deep baking dish so you have at least 3 layers of challah. Anyways, even if you're not the most confident of cooks, this dish will impress your most pickiest of friends and family (someone who doesn't like breakfast foods at all told me it was "Money!") because of how simple and comforting it really is.

What you'll need:
1 loaf raisin challah (sliced if you can get it like that)
8 extra large eggs
2 cups fat free milk (OR non-dairy creamer_
3 tbs. vanilla extract
2 tbs. maple syrup3 tbs. GOOD honey
Zest and juice of 1 orange
Pinch Kosher salt
1 tbs. Smart Balance (or other margarine)
1 large baking dish (Pyrex will do but the deeper the dish the better)

1. Preheat your oven to 350*. Grease your large baking dish with margarine. In a large bowl, mix together the eggs, milk, vanilla, honey, maple syrup, orange juice and zest, and salt.
2. Begin layering your challah. After each layer of challah, pour 1/3 of the egg mixture over the challah. Repeat this until you've reached the top layer of bread and every piece is soaked in the mixture. Let it sit at room temperature and so all of the bread can soak up the liquid for about 30 minutes. 
3. Bake uncovered for about 25-30 minutes. Serve immediately with some maple syrup up on top.

enjoy :)

Tuesday, November 13, 2012

Cabbage and Onion Soup

This week my mom and I are doing some funky 7 day diet. Normally, I think those weeklong "cleanses" or diets are bogus, but this one seemed pretty safe because every day you're changing what you're eating. No all fruit or all veggie fast. But the one constant is this great cabbage soup we get to eat for dinner every night. Day one is all fruit, day two is all veggies, day 5 is beef and veggies, and so on and so on. I even get to have a baked potato for breakfast tomorrow!!! Anyways, I have never been a fan of cabbage, and, in fact, I've always thought it was stinky and weird. But this soup smells so good!!! I've had it cooking on the stove for the last hour and it's packed with tomatoes, onions, and tons of Lipton's Soup Mix (I'm not sure why it calls for that but it's amazing!). You don't have to be on a weird diet to eat this soup, just craving something full of veggies but still tastes a little naughty (thanks to the soup mix). And now that the nights are getting pretty chilly here (ok 50's is chilly for us LA people!) the smell gives the house a really cozy feel and totally warms you up. This is a great weeknight meal that you can make on Sunday and have every night until it's all gone (which will be pretty quickly, I promise!)! P.S., make sure that anything you add into the pot that is canned has NO seasonings ESPECIALLY SALT!!! Add as many herbs as you want as it's cooking, but keep the veggies plain! OH! And feel free to drink a nice glass of white wine with this soup; it pairs beautifully!

What you'll need:
1 head cabbage, shredded
1 28 oz. can plum tomatoes
1 16 oz. can diced tomatoes
4 packs lipton soup mix
10 cups of water
1/2 cup chopped peppers (green is best, but you can use any you'd like)
4 large onions, thinly sliced
5 stalks celery, finely chopped
10 cloves of garlic, pressed (or VERY finely minced)

1. Slice your onions thinly. Add them to the pot with the can of tomatoes. Give it a good stir.
2. Add the remaining items (to get the 10 cups of water, just refill the plum tomato can 3 times) plus any seasonings you think it needs (try to stay away from salt, though).
3. Let cook on high for about 90 minutes to 2 hours, stirring occasionally.
4. Once the onions are tender, it is ready to go! Serve immediately :)
enjoy!

Monday, November 12, 2012

Slow Cooker Beef Stew

Now that we've had a little bit of fall weather in LA, it's finally time to start using my slow cooker! The weather man said we are going to have a little mid-week heat wave so while it's still pretty chilly, I'm taking full advantage of my food possibilities. The first meal I knew I wanted to make was beef stew. Whenever we go camping with my dad, it is one of the meals he always makes. I've made it before on the stove and it was pretty darn good. That was a few years ago, so I can't remember his exact recipe. I googled a few and sort of created my own and I can tell you now that I refuse to leave the kitchen because of how good it smells. Bay leaves and Worcestershire sauce are fall smell staples and my house is starting to smell like a campground. I also added some good red wine to give it a real homey taste. Whenever you cook with wine, use one that you'd drink, never something crappy or that was on sale. Use something GOOD. Of course, I'm making a vegan version of this, too. Use veggie broth and beef-less tips instead of chicken broth and stew beef bits and cook in a covered pot for about 1 1/2-2 hours. Please, let the actual beef version cook for 10 hours!!! I know that seems like a long time but it will need that much time to thicken up! It smells just as good as the carnivorous version. Served with some fresh French bread and crunchy onions (you know, the ones that you put on top of the green bean casserole!!!) and you have a hearty and delicious fall dinner!

What you'll need:
2-3 lbs. beef for stew (any market will have but Costco is always the best value)
4 tbs. flour
1 carton low sodium chicken stock (beef will work too, but Trader Joe's was out of it)
1 cup GOOD red wine
2 large yellow onions, cut into chunky
1 cup baby carrots, cut in half
2 cups slices crimini mushrooms
1 bag frozen peas
6-8 gold potatoes, peeled and cut into cubes
5 cloves garlic, pressed (or minced if you don't have a garlic press)
3 tbs. Worcestershire sauce
3 tbs. tomato paste
2 branches fresh Rosemary
3 bay leaves
2 tsp. Kosher salt
1 tsp. fresh pepper]
Crunchy onions (you can leave this out but its just so darn good!!!)

1. Trim up your beef so there isn't TOO much fat left (leave SOME, it has amazing flavor). Toss with half of the flour in the bottom of the slow cooker (the excess flour will thicken the stew).
 
2. On top of the beef, pour the wine and the pressed garlic. Next, add the potatoes, carrots, mushrooms onions, potatoes, and peas. Give it all a really good toss.
3. Pour in the chicken stock and the Worcestershire sauce and give it another really good mix. Finally, add the bay leaves, salt, pepper, tomato paste, and Rosemary branches.
4. Cook on low for 8-10 hours (yes, it will need 10 hours). About half way through, add the remaining 2 tbs. flour if you need it to thicken up a little more. (don't freak out if it doesn't thicken up a lot at this point. when there is 1 hour left, it'll thicken like CRAZY!!!)
5. Serve immediately with some crunchy onions and fresh bread!
enjoy :)

Sunday, November 11, 2012

KitKat Banana Muffins

It has now been about 10 days since Halloween and we have all of this leftover candy. Now, unlike most people, we should have eaten it all by now, but we somehow still had a plethora of mini candy bars left. 
Along with the leftover candy, we had some bananas that were about to change form into mush. This is when they're PERFECT for baking. I adapted this recipe from Barefoot Contessa but hers called for only 3 bananas (you don't get enough banana flavor) and sour cream (I used non-far Greek yogurt instead). And, her recipe was for a cake. Well I wanted to make some chocolate chip banana muffins. I made the batter (which tasted pretty good) with my little tweaks but we totally ran out of chocolate chips right as I was about to fill the muffin tins! AH HA! Well lucky me, we had this leftover Halloween candy! I chopped up some KitKats and Crunch bars and thew them into the bowl with some M&M's. Not only did the house smell heavenly, but they tasted so yummy! And as the candy melted, the color swirled around in the batter making them look like rainbow cupcakes. This recipe will work for banana bread or even mini muffins. You can omit the chocolate all together and make a simple banana bread or banana muffins but why would you do such a silly thing? Chocolate makes the world a better place!

What you'll need (this will make 15 LARGE muffins):
4 RIPE bananas (BROWN!!!)
3/4 cup sugar
1/2 cup brown sugar
1/2 cup vegetable oil
2 extra large eggs 
1/2 cup non-fat Greek yogurt
1 tbs. vanilla extract
Zest of 1 orange
2 cups unbleached flour
1 tsp. baking soda
1/2 tsp. Kosher salt
1/2 cup chocolate chips (or chopped up candy!)


1. Preheat your oven to 350*. 
2. In the bowl of an electric mixer, mash up your bananas. Slowly add the sugars, mix for a minute, then add the oil, yogurt, vanilla, and eggs. Mix until the batter is smooth.
3. Next, add the flour, baking soda, salt, and chocolate chips (Or candy. Chop it up into pieces the size of M&M's). Mix for just a few seconds, until all of the candy is fully mixed into the batter.
4. Line your muffin pan with muffin tins (if you don't have muffin tins, you can just spray the heck out of your muffin pan with cooking spray). Use an ice cream scooper and pour one scoop into each tin. 
5. Bake for 35-40 minutes. Check at 35 minutes with a toothpick. If the toothpick comes out clean after sticking in the middle, then they're ready! If not, let it go the last 5 minutes. Let cool for about 10 minutes before removing from the pan.

enjoy :)

Monday, November 5, 2012

Fajita Quesadillas

For whatever reason, El decided to grill some steak Friday night. Normally, that wouldn't be a big deal but I had just made the Mary's Chicken. But he wanted to have it I didn't argue. Well, for dinner last night I wanted to make fajitas with said steak (perfect recycling of leftovers!). I had it all planned out all day and everyone seemed pretty excited. Then 5 minutes before I started making dinner they changed their minds; they now wanted quesadillas. I have to say I was a little annoyed especially since I was ready to go! I wanted to use all of the same ingredients so instead of making fajitas, I put everything you'd need for fajitas inside two tortillas and baked them. BAM! Fajita Quesadillas! Baking them makes them super crunchy, gooey, and with zero grease because you're not frying anything. Given that we are all so picky over here, it is very easy to make everyone their own with exactly whatever they want inside. Fire roasted peppers and onions (hello frozen section at Trader Joe's!), spicy black beans (don't worry, I'll teach you how to make them), leftover (or freshly grilled with a spicy rub) steak and your favorite condiments will make these totally healthy, easy, and most importantly, satisfying! And really, what's best is that everyone can customize their own. Pop them on a baking sheet and 15 minutes later you're good to go! Oh, and yes, of course, I made one strictly vegan for mother.

What you'll need (enough for 4 quesadillas):
2/3 cup grilled steak (or chicken), chopped into bite size pieces
2/3 cup sliced peppers (red and green)
1/2 cup thickly sliced onions
1 can low sodium black beans, rinsed
1/2 tsp. chili powder
1/2 tsp. cayenne pepper
1/2 tsp. cumin
1/2 tsp. kosher salt & pepper
3 tbs. chili sauce (or more if you're a rebel and can take the heat!)
1 cup shredded cheese (Mexican blend or medium cheddar will do)
8 low carb flour quesadillas (La Gloria brand is THE BEST, found at Whole Foods)

1. Preheat your oven to 425*. In a large bowl, mix together the seasonings and salt and pepper. Add the rinsed black beans. Pour in the chili sauce and give it a good mix. Set aside for a few minutes to let the flavors come together. 
2. In a HOT skillet, toss in the peppers and onions until they get a nice char on them. Remove from the heat immediately so they don't turn into mush.
3. Time to assemble! LIGHTLY spray a baking sheet with cooking spray. Lay down one tortilla, sprinkle one small handful of cheese, then the beans, followed by peppers and onions, steak, and one more sprinkle of cheese. Top with a second tortilla and bake for 10-15 minutes. 
4. Set up your condiment station (I did salsa, sour cream, and guacamole).
5. Slice the quesadillas into quarters and serve immediately!


enjoy :)

Saturday, November 3, 2012

Mary's Chicken

Friday night came around this week and I was so ready to do absolutely nothing. However, my mother asked me to make Shabbat dinner and a few minutes later Daniel wanted to come over so I had to scratch my plans of lethargy and whip up some gourmet meal. Well, a few weeks ago, my mom called me and told me a 15 minute story about this "Mary's Chicken" her boss had made for dinner the night before. About 3 minutes into the story of the preparation I started drooling. It's smothered in fresh herbs and butter and garlic, roasted in a cast-iron skillet, and has the crunchiest skin I've ever had. PLEASE PAY ATTENTION TO THE INSTRUCTIONS BELOW WHILE COOKING! You MUST use a cast-iron skillet. If you don't have one, go to the hardware store and buy one because this truly is the BEST roasted chicken you will ever have. Nowhere did I say that it is on the healthy side, but it is totally on the delicious side. It's super simple to make and if you're looking to cook a meal for the first time for someone or even for a party go with this. You must buy a GOOD QUALITY full chicken. Whole Foods has the exact one, Mary's Free Range Air Chilled Chicken. It's never frozen and all of the nasty insides are removed for you and placed nicely into a bag (Eliot made a delicious gravy with it). I served these along with roasted potatoes and green beans and it was a perfect Friday night dinner. 

What you'll need:
1 whole chicken
1 stick salted butter, at room temperature
2 tbs. fresh rosemary
1 tsp. fresh thyme
6 cloves of garlic
1 cast-iron skillet

1. Preheat the oven WITH THE SKILLET IN IT to 425. Let the skillet heat for 30 minutes.
2. Meanwhile, in a food processor, blend together the butter, rosemary, garlic, and thyme. Process until it is a smooth paste-like consistency. 
3. Rinse and throughly dry your chicken. Smother completely with the butter ALL OVER! Leave no inch untouched!
4. Place the chicken DIRECTLY into the skillet (USE GLOVES!!! IT'LL BE HOT HOT HOT!).
5. Cook for anywhere from 40-60 minutes (depending on your specific oven). Every 10 minutes, baste the chicken. 
6. Once it's golden and crunchy all over, remove from the oven and let it rest (keeping it in the hot skillet will let it keep cooking from the bottom so it won't burn and the juices will stay inside the chicken).
7. Carve and serve!
enjoy :)