Search

Sunday, July 29, 2012

Peach and Strawberry Crisp

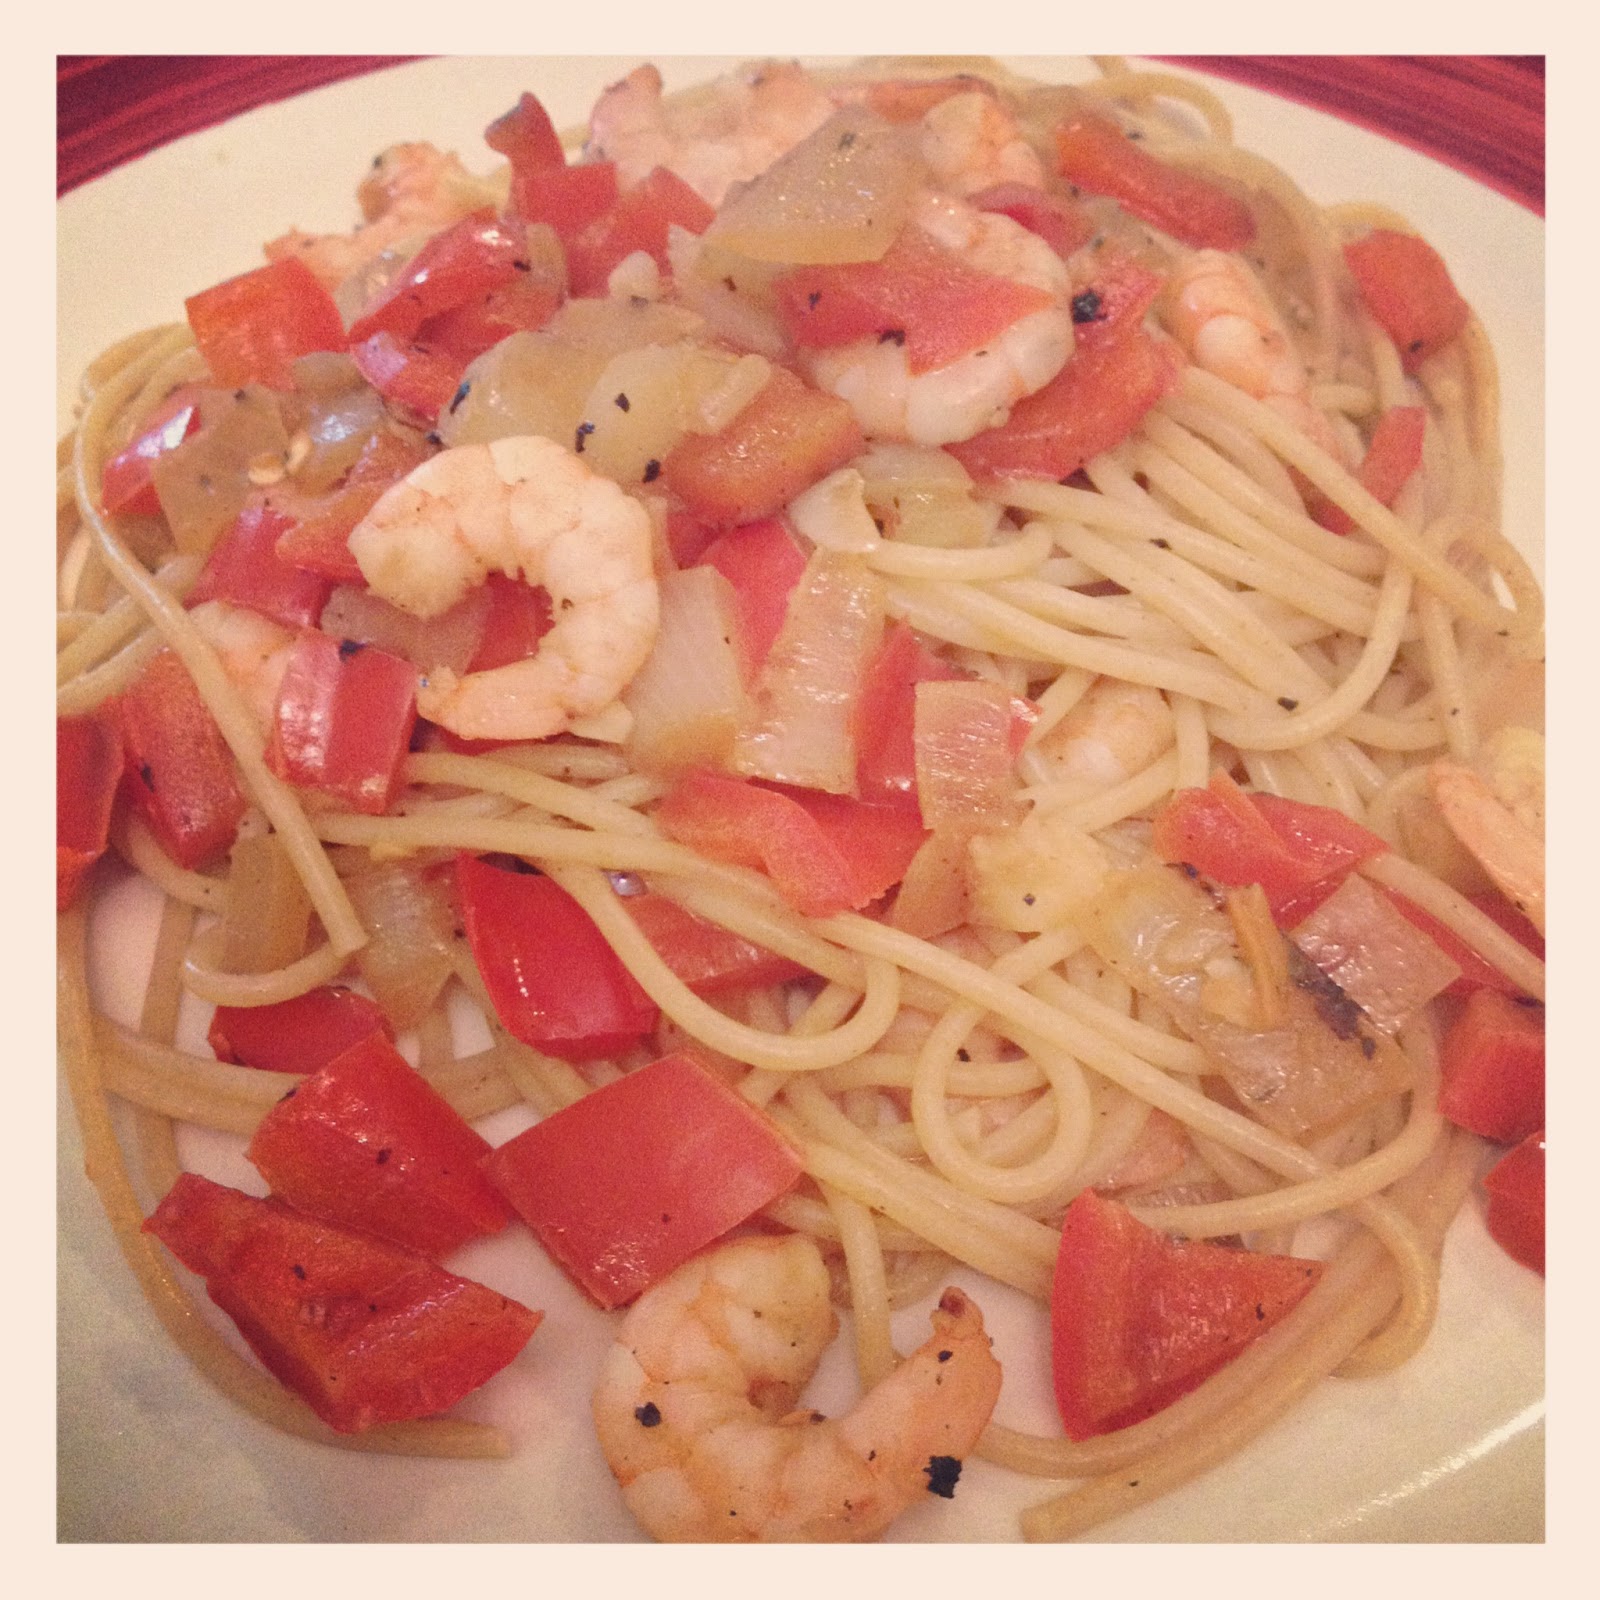
If you read my previous post, you would know that my sister and her boyfriend came to town for the weekend. I had to fix them a delicious dinner (which was quite successful) but I felt the pressure when it came to dessert. After such a successful honey glazed chicken, I had to kick some butt with the dessert. I wanted it to be simple yet refreshing because it’s been so hot lately. An old-fashioned peach and strawberry crisp was absolutely perfect. It’s quite easy and full of incredible flavors. I've made an apple crisp before that's almost as good as this one, but that one is better for winter desserts. Serve it warm with a scoop of vanilla ice cream on top will ensure everyone has a happy tummy. Oh, and it was great for breakfast the next morning. 

What you’ll need (for the fruit mixture):
6 peaches
1 ½ cup strawberries, cut into cubes
Zest of 1 orange
Juice from half the orange
1/2 cup granulated sugar
1 tbs. ground cinnamon

What you’ll need (for the topping):
1 1/2 cups flour
1 cup oatmeal
3/4 cup sugar
3/4 cup brown sugar, packed
1/2 teaspoon salt
1 stick COLD unsalted butter, cut into cubes

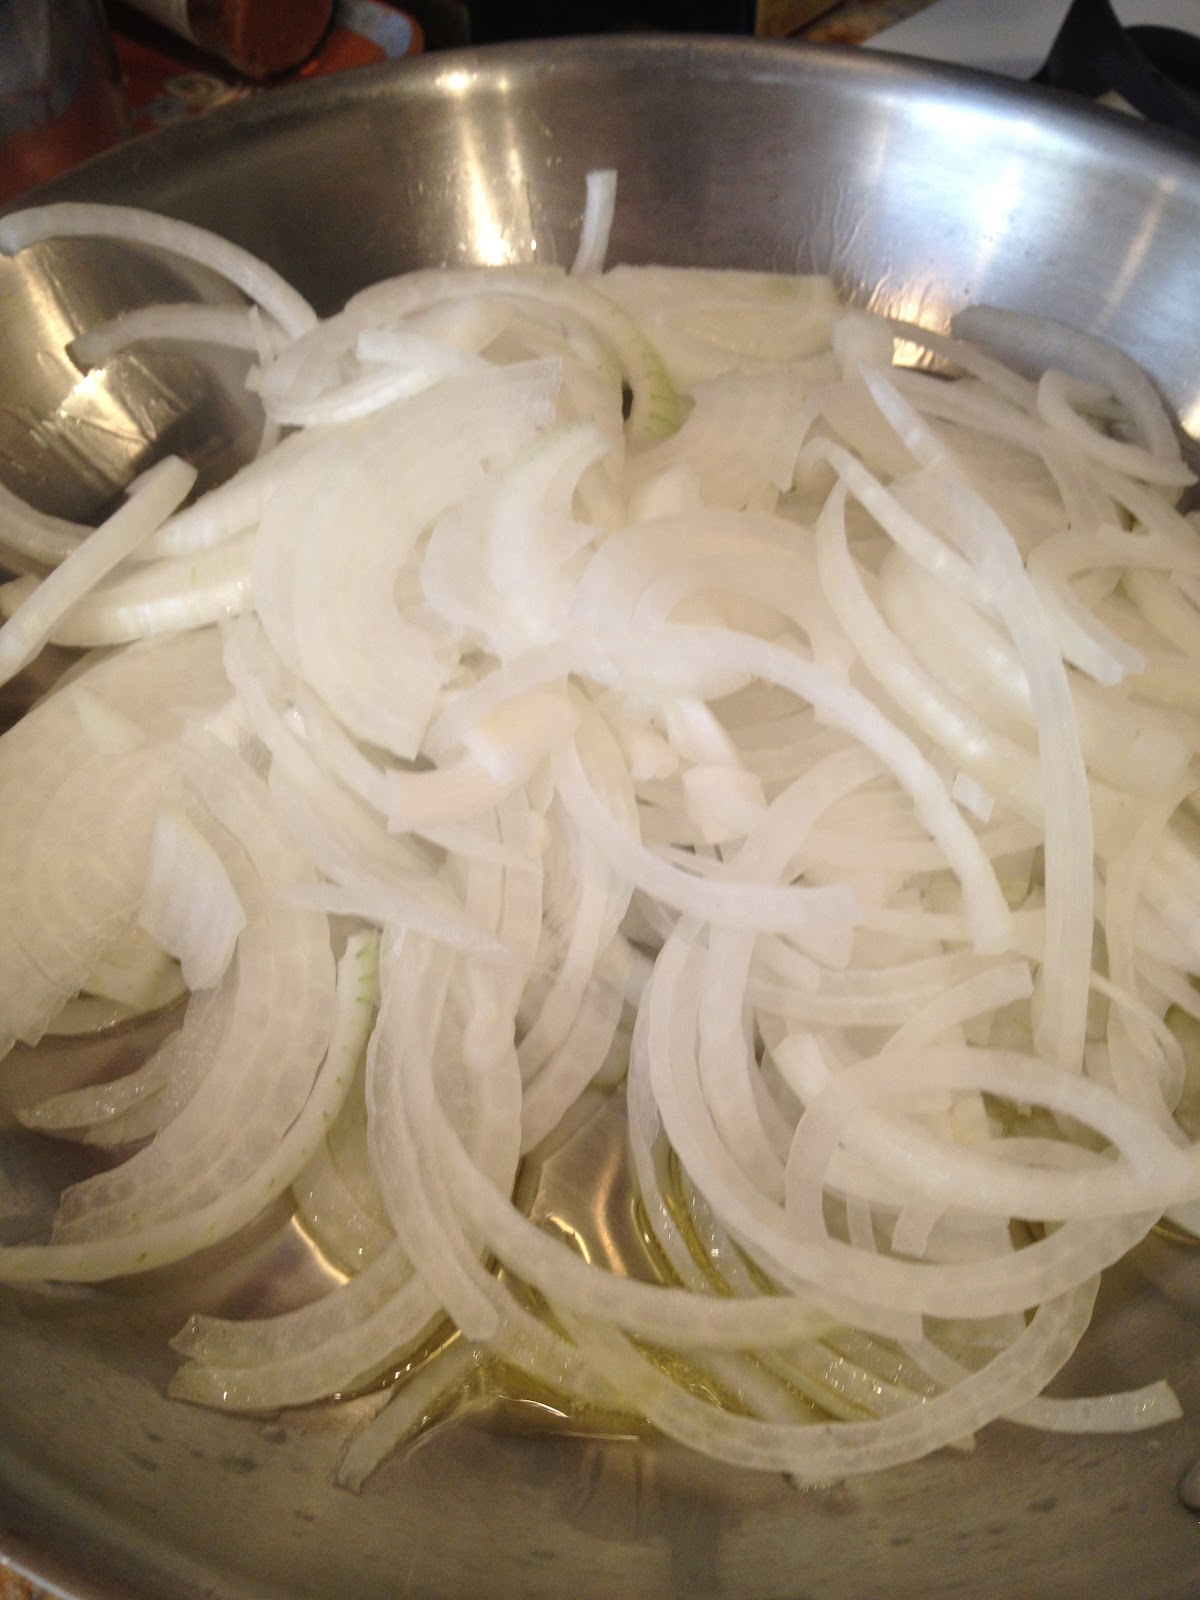
1. Preheat your oven to 350*. Cut the peaches in half, then into thirds, pit them, and add them to a large bowl. Add the strawberries.
2. To the bowl, add the orange zest, orange juice, sugar, and cinnamon. 


3. Mix together and let sit while you make the topping. 
4. In the bowl of an electric mixer, add together the oatmeal, sugar, brown sugar, salt, flour and cold butter. USUALLY, you'd mix it just a little bit so the butter is the size of peas. HOWEVER... I want you to let it go for about a minute so it's in a big ball (TRUST ME!!!).

5. Butter a large ceramic baking dish, add the fruit mixture, and top with the above mixture. Break it into pieces, covering the whole dish. Bake for about 1 hour (until the top is golden and crunchy). Let cool before serving.
 
 6. Serve warm with vanilla ice cream.
enjoy :)

Honey Glazed Chicken

This past weekend, my sister came to town to visit. As per usual, I spent the entire week leading up to her arrival planning the daily menus. Friday night had to be a fabulous family dinner. And, her boyfriend is a very good eater. What's even better is that he had never been to a Shabbat dinner. Oh boy he had no idea what was coming. I didn't want to do a plain roasted chicken, I had to wow him. I found a fabulous recipe from Food and Wine for a honey glazed chicken that looked pretty great. Of course, I had to give it my own little twist. The honey glaze creates a beautiful, crunchy, golden skin that totally melts in your mouth. Over a bed of onions cooking in veggie broth and the chicken juices, this is the PERFECT Friday night chicken dinner!!! Plus the leftovers make great chicken sandwiches and chicken salad!

What you'll need (this feeds about 6 hungry people):
2 chickens, cut up (ok, get it pre-packaged from the market)
1/2 cup honey

4 garlic cloves, minced

4 tablespoons fresh lemon juice

2 teaspoons Dijon mustard

1 teaspoon sweet paprika

1/2 teaspoon cayenne pepper

Salt and freshly ground black pepper
2 large onions, sliced
1/2-3/4 cup low sodium veggie broth

1. Preheat the oven to 425*. In a large roasting pan, placed the sliced onions, creating a bed for the chicken to sit on. 
2. Place the chicken on top of the onions, packing in quite tightly. Using a VERY sharp knife, create 2 slits in each piece of chicken (this will let the glaze drip through and keep the chicken very moist). As the chicken is waiting to be glazed, sprinkle the salt and pepper over the tops of each piece. 
3. In a medium bowl, add the honey, garlic, lemon juice, mustard, paprika, and cayenne pepper. Whisk together and, using a pastry brush, paint each piece of chicken with the glaze. Add the veggie broth to the bottom of the pan.
4. Bake for 15 minutes. After 15 minutes, pull out the pan and glaze the chicken again, and use a turkey baster to baste the tops of the chicken with the juices under the onions. Bake for another 10 minutes.
5. Repeat the step above one or two more times, in 10 minute increments (or until the chicken is cooked all the way through).
6. Serve immediately (I served it with mashed cauliflowerrosemary potatoes, and green beans)!!!

enjoy :)

Tuesday, July 24, 2012

Spaghetti with Shrimp and Bell Peppers

There are so many different combinations of proteins and vegetables you can create with spaghetti. And, for those of us that are so mature, spaghetti is really fun to eat! I have to admit, I have not always been a huge fan of shrimp. I only actually tried it and liked it about a year and a half ago. These past few months (and especially this summer), I have been using it much more because it is so simple to cook and so light. Who wants to eat a heavy meat sauce during the summer? Not I! Anyways, this spaghetti with sauteed onions and red peppers is very, very light and super delicious! P.S., you can absolutely use ANY color peppers you'd like, I just chose red because they're so pretty :)

What you'll need:
1 lb. uncooked, peeled, deveined shrimp
1 red pepper, chopped
1 large onion, chopped
3-4 cloves fresh garlic, chopped
Salt & pepper
2 tbs. olive oil
1/2 tsp. red pepper flakes
2 tbs. fresh lemon juice

1. In a large pan on medium-high heat, heat the olive oil. Once it is hot enough (you'll know by sticking a wooden spoon in the oil; if it bubbles around the wood, it's hot enough!), add the onions. Sautee until brown.
2. While the onions are cooking, boil water and cook pasta (don't forget to season the water when it boils with kosher salt!).
3. Add the chopped peppers, salt, pepper, and red pepper flakes. 
4. After about 5 minutes, add the chopped garlic, lemon juice, and shrimp. Cook until the shrimp is pink. THE SECOND IT TURNS PINK, TAKE IT OFF THE HEAT!!! (uncooked shrimp is NOT tasty... at all!!!)
5. Toss in the spaghetti, top with freshly grated parmesan and you're good to go!!!
enjoy :)

Sunday, July 22, 2012

Fresh Fruit Popsicles

Every so often, I get emails from my mom and her coworkers requesting that I make yummies for them. Usually, the request comes with the recipe so I don't have to try very hard! This week it was fresh fruit popsicles. I haven't made homemade popsicles probably since I was 5 or 6 so I was excited. A combo of chopped mangos, strawberries, sliced kiwi, blueberries, and pureed watermelon made for the PERFECT summer cool-off treat. Any leftover fruit from a party or that is about to go bad is perfect. Kids will love them, too. And, to make things even better, I took the leftovers and pureed it all together with some triple sec and tequila and made margaritas in mason jars!

What you'll need:
1/2 watermelon
1/2 cup fresh blueberries
2/3 cup chopped fresh strawberries
2 kiwi, peeled and sliced
1/2 cup chopped fresh mango

1. In a blender, puree the watermelon until it is liquid.
2. Rinse and chop the strawberries and mangos. 
2. To the blender, add the fruit EXCEPT the kiwi.
3. Slip in a slice or two of kiwi to your popsicle holders before you add the fruit and liquid mixture.
4. Add the watermelon and fruit mixture and freeze overnight!

enjoy :)

 To make the margaritas:

1. Take the leftover fruit mixture and puree in a blender. Add triple sec and good white tequila.
2. Pour into mason jars and freeze overnight!

Saturday, July 21, 2012

Caramelized Onion and Goat Cheese Pizzette

Last week I went to a potluck for a friends Birthday. I wanted to bring a dessert but there were already too many coming so I had to think quickly. But because it's been so hot outside, that limited my options. I immediately thought of something bite sized and light. Caramelized onion and got cheese pizzette was the PERFECT idea. They're super easy because you obviously use store-bought pizza dough, and caramelizing onions is not difficult at ALL (don't worry, I'll teach you how). They were totally gobbled up in minutes, but I did get to try one... pretty good!!! :) Next time you have people over and want a VERY simple appetizer that I guarantee EVERYONE will LOVE, go with these! Oh, P.S., I'm sorry the final picture isn't better, they were eaten before I got a chance to take a better one :)

What you'll need:
2 large yellow onions
1 package store-bought pizza dough
1 cup crumbled goat cheese
1 tbs. chopped thyme
1 tsp. kosher salt & pepper
1 cup flour
1/4 cup canola oil

1. In a large pan on LOW heat, heat the canola oil. Slice the onions about 1/8 inch thin and add to the pan. Add the salt and pepper. ***THIS IS HOW TO CARAMELIZE*** You're going to stir the onions around on LOW heat for about 40 minutes. I know this seems like a long time, but you'll get the perfectly sweet and light onions.
  
  
2. Preheat the oven to whatever the package of the dough says. On a large board or counter top, flour a rolling pin and the surface. Roll out the dough as thinly as you can and use a SMALL drinking glass with a round lip to cut out the pizzas. 
3. Grease a baking sheet and lay the pizzas about 1 inch apart (they'll expand) and begin topping! Start with the onions and then crumbled goat cheese. Finally, add the chopped fresh thyme. Bake for 8-10 minutes (or whatever it says) and serve immediately!!!

enjoy :)

Thursday, July 5, 2012

Patriotic Strawberries

There's no recipe here but I, along with probably every other young woman in the country, decided to make a cute and festive dessert for the 4th of July. Let me tell you, it was not easy! There was no blue colored sugar or white baking chocolate left so I had to get creative. I used chocolate chips and a little cream for the dipping chocolate and dyed white candy sugar with blue food coloring. Not too bad if I do say so myself!!! They're cute and super fun to make. You can use a variation of colors for different holidays and celebrations. They're always a hit!!!

Creamy Avocado Pasta


For the past few months, I have seen various versions of this "creamy avocado" pasta. It has scared me a bit, and I imagined it tasting somewhat like guacamole. Now, don't get me wrong. I LOVEEE guacamole; just not on my pasta. But now that it's summer and it's so hot at night, I don't want to serve a heavy red sauce with my pasts. So I figured why not just try it... There are few words that can describe how incredibly delicious this meal was. The sauce is thick but very light, and had ZERO hint of guacamole. To make it a little more special, I added some garlic aioli (you can find it at Whole Foods, glass bottle with green label and top) that gave it a beautiful tang. Throw in some chicken sausage, roasted tomatoes, and you've got yourself a fabulously light, refreshing summer dish! Oh, and the leftovers are just as yummy!!!

What you'll need:
1 lb. bucatini (the spaghetti that has a hole in the middle).
2 ripe avocados
3 garlic cloves
4 tbs. olive oil
2 tsp. kosher salt
1 tsp. pepper
1 tsp. fresh lemon juice
2 tbs. garlic aioli (you can use nonfat Greek yogurt or leave it out if you must)
1 package cherry tomatoes
1 tbs. non-dairy creamer (you can substitute milk, or leave it out completely)
***IF YOU ARE GOING TO LEAVE OUT THE AIOLI THEN YOU MUST USE THE MILK, AND VICE-VERSA!***

1. Preheat your oven to 375*. In a large bowl, mix together half of the olive oil, half of the salt, and all of the pepper with the tomatoes. Lay on a greased baking sheet and roast for about 30 minutes. Once they're cooked, set aside and let cool until pasta is ready.


2. Boil a large pot of water and drop your bucatini (you can use any pasta, but this holds on to the sauce VERY well).
3. While the pasta is cooking, add to a food processor the olive oil, remainder of the salt, and garlic. Pulse until the garlic is as fine as possible.
4. Add the avocados, lemon juice, garlic aioli and non-dairy creamer and blend for about 2 minutes, until it is thick and creamy.
 
5. Once the pasta is finished, drain and put back into the pot. Add the avocado sauce and toss to coat the pasta. Add the tomatoes and toss thoroughly. Serve in... guess... WHITE bowls and top with sausage and parmesan.


enjoy :)